How To Disable Monitor Speakers Windows 10
First, make sure that all of the buttons on your HP monitor are okay. Make sure all buttons work. If one of the buttons get stuck, this OSD Lockout message may appear. If everything is okay, press and hold the menu button again for more than 10 seconds until the OSD Lockout message goes away! Now, all of the buttons will start to work! To update the graphics card driver using Device Manager to fix the second monitor detection problem, use these steps: Open Start. Search for Device Manager and click the top result to open the experience. Double-click to expand the Display adapters branch. Right-click the adapter, and select the Update Driver option.
If the internal speakers on your computer are not loud enough or of desired quality, you can disable internal speakers in Windows 10 and use better quality external speakers.Disable Internal Speakers in Windows 10Certain computers like Dell OptiPlex and others are equipped with in-built internal speakers, which saves desk space by eliminates the need to connect external speakers.However, some users find it annoying that the computer switches back to internal speakers with the same volume, whenever the external speaker is disconnected. This can be quite a nuisance and cause embarrassment, if the computer is left on an open browser and it suddenly starts playing an Advertisement or Video loudly. Oce wide format plotter. Star wars empire at war console commands. Update Audio DriversIf your main problem is about the computer switching back to Internal Speakers, updating Audio Drivers on your computer should fix this problem.1.
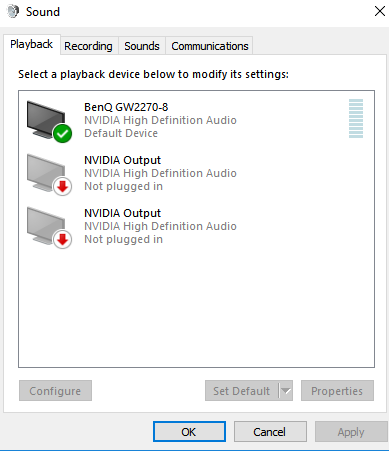
Right-click on the Start button and click on Device Manager.2. On the Device Manager screen, expand the entry for Sound, Video and Game Controllers.3. Next, right-click on your Audio Device and click on Update Driver option in the contextual menu.4. On the next screen, click on Search Automatically For Driver Software option and allow your computer to search and install the updated device driver. Disable Internal Speakers Using Control PanelFollow the steps below to disable Internal Speakers in Windows 10 and make external speakers as the default speaker on your computer.1.
Open and go to Hardware and Sound Manage Audio Devices option in the Sound section.2. On the next screen, right-click on the Internal speaker’s device listing (usually listed as Speakers) and click on Disable. Click on Apply and OK to save this setting.4. Plug the External speakers into the Audio-out port of your computerYour computer should automatically recognize the New External Speakers and set them as the default speakers on your computer.

Disable Internal Speakers Using BIOSIf you are unable to disable Internal Speakers using Control panel, you can disable them by going to the UEFI Settings screen on your computer.1. Open Settings click on Update and Security.2. On Update & Security screen, click on Recovery scroll down to “Advanced Startup” section and click on Restart Now.3. Next, click on Troubleshoot Advanced Options.4. On the Advanced options screen, click on UEFI Firmware Settings.5.
On the next screen, click on Restart.6. On the UEFI screen, expand System Configuration select Audio and uncheck Enable Internal Audio option.7. Click on Apply Exit to save this setting on your computer.